
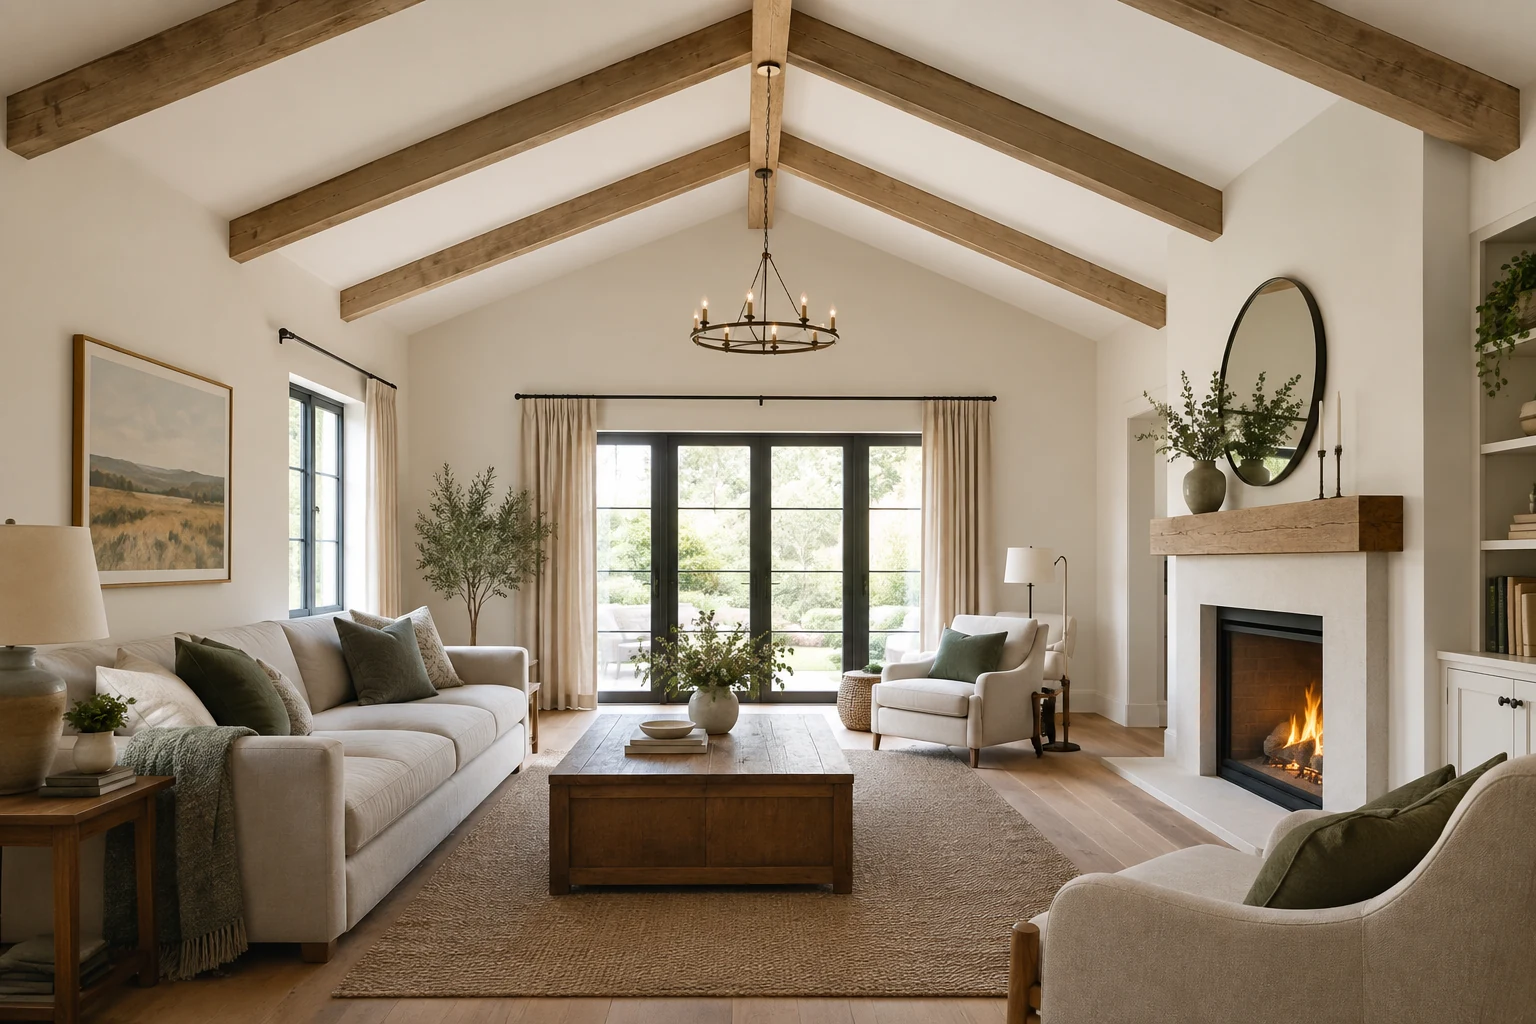
Faux wood beams can add the look of timber without using solid, heavy beams. They’re available in materials including polyurethane foam, PVC and lightweight wood, with finishes ranging from smooth and painted to textured or distressed. The right choice depends on the room’s proportions, the effect you want and the product’s installation requirements.
Start by deciding whether the beams should be a feature, help define an area or blend into the room. Then test the layout before buying or fitting anything: a simple mock-up can show whether the size and spacing feel balanced.
Choose a layout that suits the room
Room size and ceiling height are useful starting points. In a room with a lower ceiling, narrower beams are less likely to dominate; a higher ceiling can accommodate a more substantial feature. A few beams may be enough in a smaller space, while a larger ceiling can take a more extensive arrangement.
Common layouts include:
- A single beam: Creates a clear focal point or marks a transition between areas.
- Parallel beams: Give a ceiling a repeated rhythm. Try a mock-up to judge the spacing from different parts of the room.
- A ceiling grid: Forms a more formal, coffered effect, but adds stronger visual pattern across the ceiling.
- An off-centre arrangement: Can suit a more relaxed scheme or work around features already in the room.
To check proportions, mark the proposed beam positions on the ceiling or use temporary stand-ins. Look at them from the doorway and from where you usually sit. Adjust the gaps until the layout feels even in the room; equal spacing is one option, but existing features may affect where beams make sense.
Consider more than the ceiling
Beams can also add detail to a wall, doorway or piece of furniture. A horizontal or vertical arrangement can frame a feature wall, while a beam above a doorway can make a room division more pronounced. In an open-plan space, a ceiling beam may help distinguish one area from another without adding a wall.
Some designs use a hollow beam to conceal wiring, pipework or other services. Treat this as a practical detail as well as a design choice: plan for access where needed, and ask a suitably qualified tradesperson to assess any work involving services. Decorative beams are not structural supports, so don’t use them in place of a load-bearing member.
Match the material and finish to your scheme
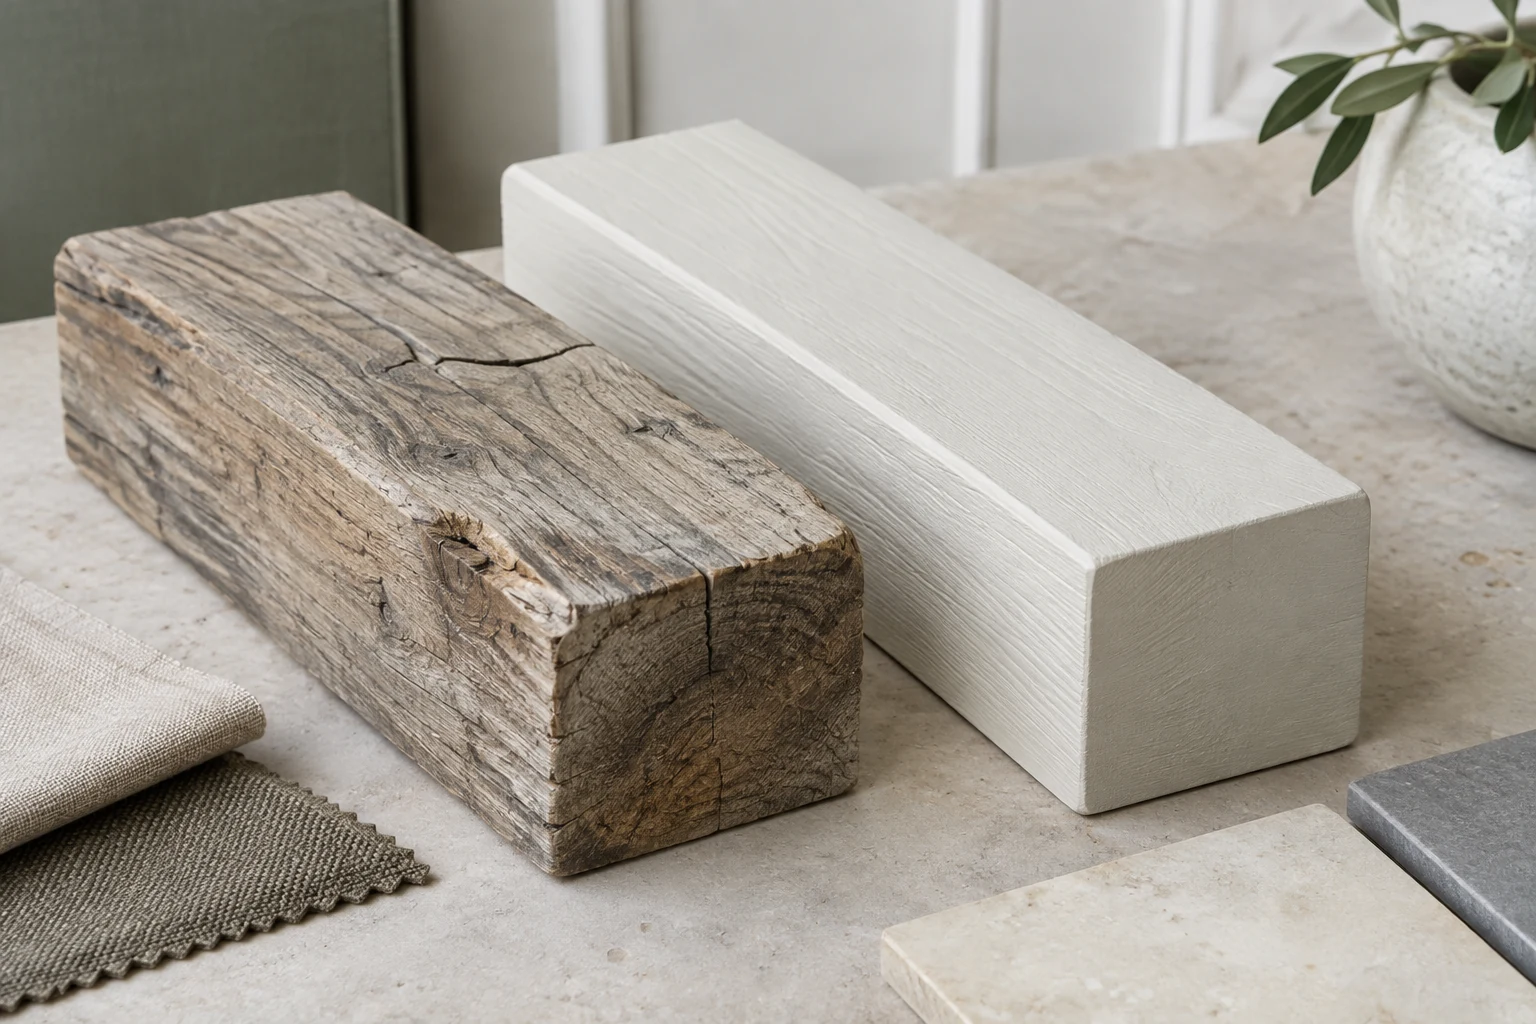
Polyurethane foam and PVC options are lightweight; lightweight wood is another choice. Construction and finish vary by product, so check what a particular beam is made from and how it is intended to be finished or fitted. Don’t assume that a surface designed for one type of paint, stain or sealant will suit another.
For a rustic look, consider a textured or distressed finish. Smooth beams, including painted ones, can sit more quietly in a modern or traditional interior. A finish close to existing wood tones helps the beams blend in, while a contrasting colour makes them more prominent. Think about the flooring, furniture and other visible wood in the room before settling on a tone.
Plan the installation carefully
Before ordering, check the available lengths and whether the product can be supplied in the size you need. A complicated pattern, a heavy beam or work at height may call for professional installation. Fixing methods and requirements differ, so follow the manufacturer’s instructions and make sure the chosen method suits the surface the beams will attach to.
- Measure the room and mark the intended positions before committing to a layout.
- Check that the beam dimensions and finish suit the room and the look you want.
- Review the product’s installation and finishing guidance before purchase.
- Get professional advice if the layout is complex, the beam is heavy or services are involved.
Careful planning helps decorative beams look intentional rather than added as an afterthought. A small-scale mock-up is a straightforward way to judge their visual weight and spacing before installation begins.